

How Is Matcha Linux Unique?
Matcha Linux is not just an ordinary Ubuntu flip with a custom Gnome theme slapped on top. It’s a complete redesign of what Alpine Linux was supposed to be in the first place, resulting in a lightweight distribution built specifically for desktop use.
By defining a clear problem in today’s software (which is lack of optimization) I turned the other way around - from making software that only sells, to making software that also performs.
And in this post I will uncover all the things that were required to design Matcha Linux the experience it is today.
The Background
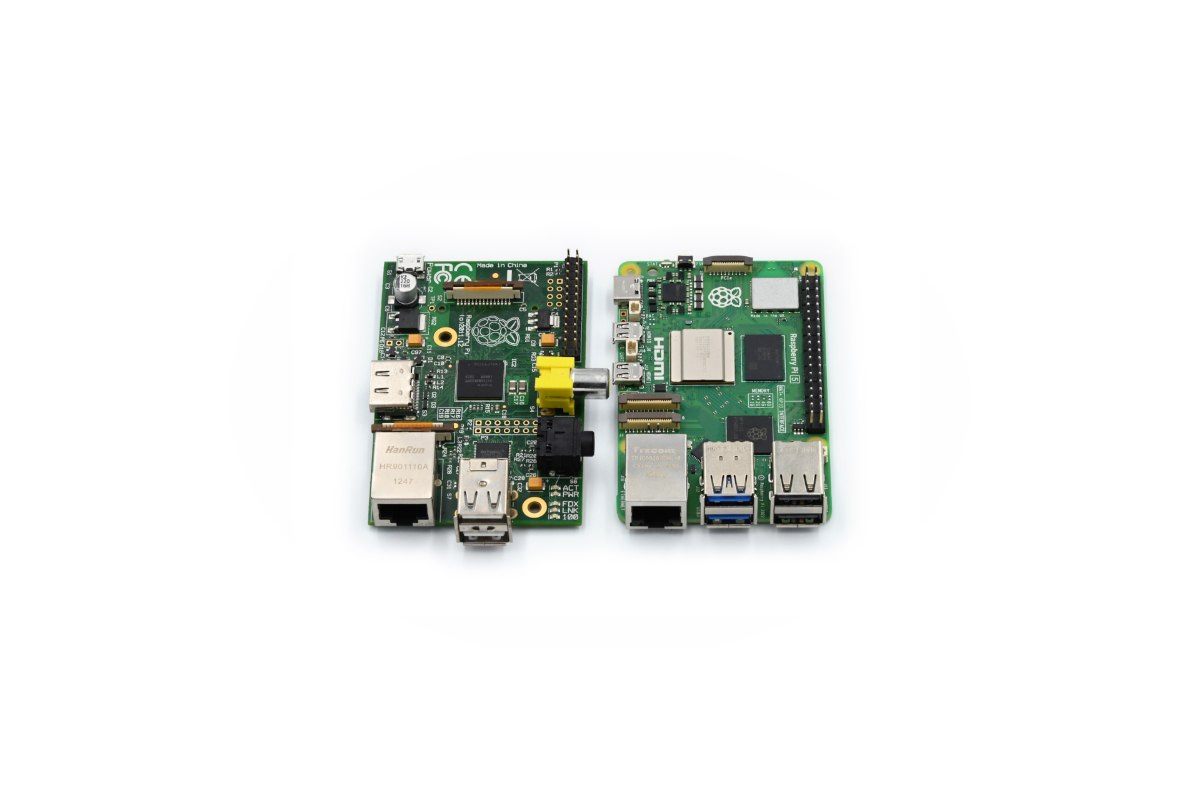
It all started with a Raspberry Pi. As Raspbian took too long to boot, I headed to Alpine Linux, which was a great choice! I suggest you read more about it here. But the key point to making a Linux distribution for me was the realization that Alpine Linux is fast and reliable, but there is nothing useful enough based on it for desktops.
I tried installing Alpine on my secondary laptop, and it was one of the best decisions I have made, but it required complex understanding of how Alpine works. What if there’s another way?
I was experimenting with OSs since I was a child. I liked the variety Linux provides and over the years I built a profile in my mind of how I like Linux the best. I even tried to make my own Rust kernel a year ago called NoOS, but I fell short of motivation to continue. Moreover, I couldn’t understand Rust too well and making an OS as a first project was the wrong idea to start with.
Why Matcha?
My dad was indirectly very influential to the name. When he brought matcha from work for us to try, I got hooked. The green color plagued me everywhere, not in a bad way. And I wanted my OS to look green too. Name stuck, and now we have Matcha Linux.
About the Development
When working with such a niche technology like Alpine, that is primarily developed around server use, it isn’t easy to transform into a desktop variant. There were many things I encountered, and I will try to cover the most important ones.
ISO Building
Alpine Linux developers actually have a really well built tool for building Alpine Linux images. However, to utilize it, you must use Alpine Linux itself. This was a problem for my Windows machine, and the closest thing I could think of was virtualized/containerized builds.
To ensure smooth cross-platform pipeline (including GitHub actions) I had to look for a local runner, this way I could save myself from multiple building options that left junk behind. Having everything inside of a container meant that once it’s done building, it wipes my system clean of traces anything was built, but the artifact. I made custom shell scripts for setting up the environment, and I did a pretty good job.
RootFS
One issue I ran into quite early in development was that stacking all the files into one big and chunky script was very inconvenient. Distributing files across appropriate directories was the key thing to making this project succeed without me having to go insane.
However, given the fact that Alpine’s packager doesn’t operate within a booted system and instead runs everything on a chrooted environment, I needed to make a compromise by symlinking services. Thankfully, Alpine Linux’s OpenRC service manager was built to work in favor to this approach! I think it was pure luck by accident, but worked out perfectly. Booting into an empty shell and seeing the ISO builds working was a relief.
Booting Into GNOME
One of the most frustrating things I had to resolve was Gnome’s inability to boot besides being added to the ISO. GDM (the login and desktop manager) required some services to be running before it (primarily udev, dmesg and dbus). I had to read Alpine’s official desktop setup script to figure out which services were required exactly. After solving this issue I noticed that RootFS was expanding quickly.
Customizing GNOME
One thing Gnome isn’t very good at is out-of-the-box customization. To make Gnome respect my preferences, I had to make a custom configuration and then build it when packaging the ISO. After figuring out, it’s smooth sailing, but to figure it out can be nerve-wrecking.
Luckily, adding a live user to the system wasn’t hard at all! GDM supports autologin natively and I had no issues with that.
However, to shape Matcha Linux even more towards the end goal, I had to implement Zsh with oh-my-zsh. Picking a theme that worked without confusing modification was quite tough. I tried Powerlevel10k at first, but it was fragile and needed first-time setup (I like to give preference for users with a clean default that doesn’t get in their way), so I went with Agnostic, which is one of the included defaults with oh-my-zsh.
Then came custom extensions. And I don’t really enjoy the way they’re implemented currently, but they work. I usually trust a tool to do such things. However this time I defined every extension manually in a JSON file and parsed it for download.
On one hand, it’s better, because it allows me to hand-pick tested versions of extensions. On the other hand, it clutters the codebase by just a bit.
In order for an extension to be enabled when the OS boots, it has to be marked as “System” and I wasted quite a lot of time figuring out how to do that.
Also, to make sure Gnome’s application menu looks green, I could’ve went 2 ways:
- Make a custom theme for Gnome, which is a lot of work and requires a lot of testing.
- Make a custom extension that just applies a stylesheet and is easy to disable on demand.
2nd option was the best choice. The hardest part was to figure out correct CSS selectors to apply the stylesheet to. I used Gnome’s built-in inspector to figure this out.
Networking
Gnome requires using the NetworkManager service instead of Alpine’s default networking service. This not only introduced an extra depenency (which wasn’t hard to add), but pointed out a severe flaw in my user setup - every accounts-related file was handwritten with a lot of failure points (group, passwd and shadow files). Once again, I was presented with a choice:
- Implement custom and reliable user creation system when building, that ensures account files are set up correctly and packages could initialize their settings consistently.
- Keep handwritten configuration and hope that nothing breaks.
And when I thought I had implemented the first option correctly, after days of debugging (because I thought I broke something) I realized my stupid mistakes:
- Permissions are misconfigured, which led to services not being able to interact with files.
- I completely messed up file operation order, which led to files being overwritten.
And it taught me that order of operations is very important.
Installer
Just as I was nearing the end of Matcha Linux’s live ISO development, I remembered the fact that it had no installer. I thought Calamares was going to save me. But I was completely wrong.
Official Calamares support for Alpine Linux was dropped since 3.19 and required a lot of work to get it working. Since it used outdated packages and in Alpine Linux you can only have one specific version of a package installed at a time, I had to custom-build Calamares.
Custom building wasn’t even the biggest issue. Even bigger problem was configuring it. Standard modules did not work with Alpine, which resulted in me having to write custom shell scripts to both make the installation fully offline and install the system to a vanilla state.
Late in development I encountered a very strange issue with Calamares - it could not partition the disk in MBR/BIOS mode. It’s possible that a bug or configuration is guilty for this. But to truly solve the issue, I decided to make Matcha Linux a UEFI-only distribution. This was a bold move, but it provided great benefits and helped set a clear direction for the future of Matcha Linux:
- Not holding back: UEFI is more secure, and it is the standard for modern computers.
- 4GB RAM escape: By supporting BIOS I drew a cap on RAM usage. To use Matcha Linux comfortably, you need at least 4GB of RAM. By dropping BIOS support, I can utilize extra resources, as nearly every UEFI system supports 64-bit memory mapping and has more than 4GB of RAM.
- Dropping extra configuration: By ruling out 32-bit machines, repository could be shrinked down.
- Keeping current tech alive, not trying to revive legacy: Matcha Linux’s goal now is to provide the current (2015+) technology a bright future instead of reviving old 32-bit computers. With the ongoing RAM crisis and world’s shift towards 64-bit, I don’t think there are many 32-bit users around, but not many people willing to upgrade their current stack either.
Booting In a VM
This time I, once again, got lucky. Because when I was booting earlier builds within Oracle VirtualBox, everything worked perfectly, but when I got some people to test it on Hyper-V, the display was broken. Turns out that Hyper-V’s display manager is not compatible with what Linux LTS kernel provides. Funny enough, swapping it out for a VM-compatible kernel solved the issue. I had to reconfigure builds, but the result was worth it.
There still exists one problem with Hyper-V - broken color profile within the installer. I can’t tell why it occurs, but I’ll try to look into it.
Conclusion
By prioritizing current situation with technology pricing and shortages, I built Matcha Linux out of pure excitement that something can both look good and perform well. I hope that Matcha Linux will be a great experience for everyone who tries it, and I hope that it will inspire others to think about performance and optimization in their own projects.